English Mitre Plane Restoration Project with handtools
Posted by Admin on 5th Jan 2018
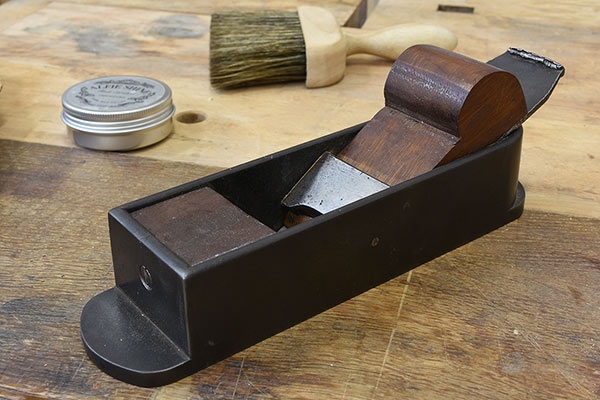
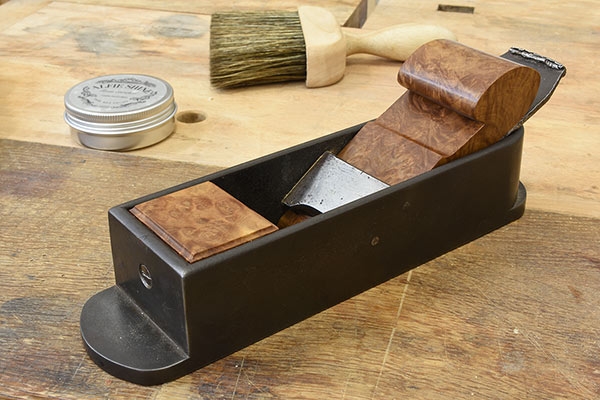
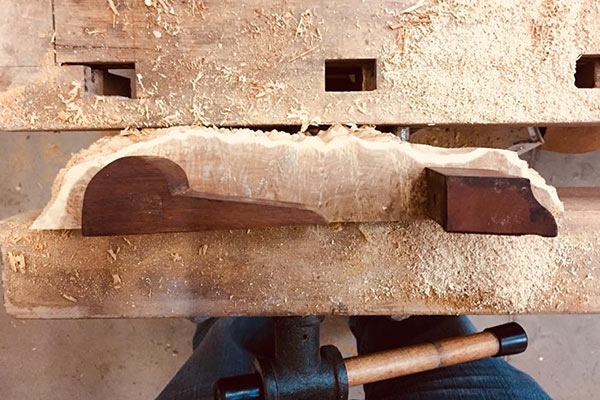
This unnamed English mitre plane has been sitting on my shelf for quite a while, the body and iron are in excellent condition, but the front infill and wedge have been replaced at some stage and I reckoned I could probably make a slightly better job of it. As usual, working only with handtools.
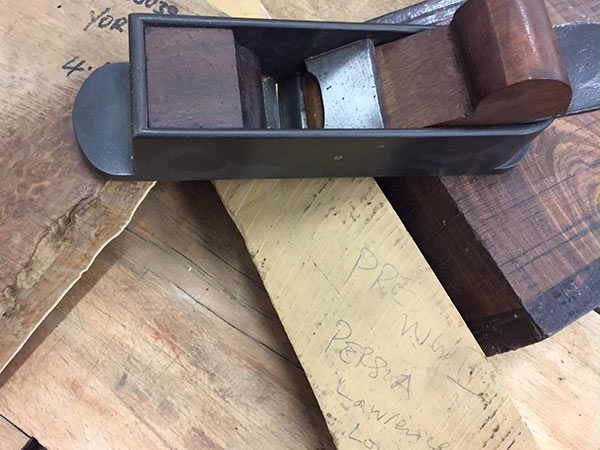
The first question was what material to choose - some lovely pre-war persian boxwood I picked up from Richard Kell, a nice piece of cocabolo, or a stunning Australian goldfield burr? After some deliberation I ended up plumping for the burr. Hard exotics require slightly different techniques but are hugely rewarding to work with.
I ripped a slice out of the middle of the lump of burr and squared up two surfaces to form a reference edge. The Gyokucho 616 Ryoba proved itself to be more than up to the task, holding its line even on a seven inch thick cut through this rock hard exotic timber.
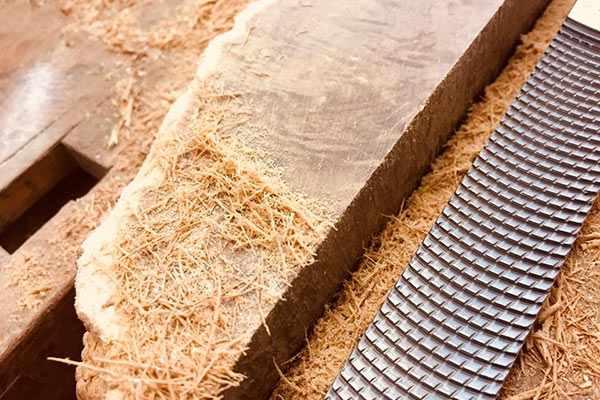
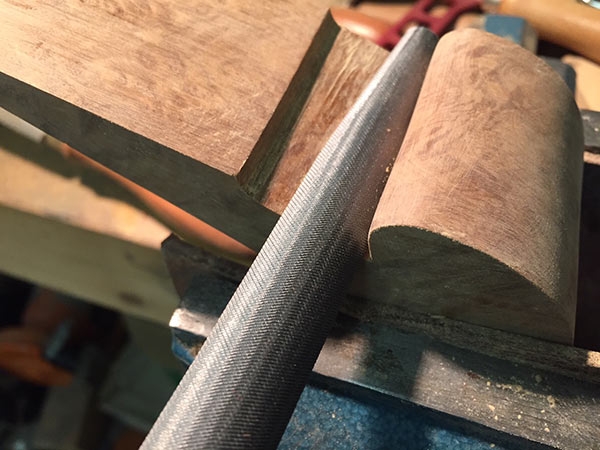
A large 250mm Iwasaki carving file proved a safer and more versatile choice than a plane for truing up and levelling the face side and edge – iwasakis cut quickly, producing tiny tightly rolled shavings and leave a surface so smooth that is almost ready for finish straight from the tool.
The new components were laid out on the side of the blank, I tried to follow the natural shape of the burr to achieve a uniform figure – surfaces cut parallel to the outer surface have the spotty swirly figure whereas surfaces cut perpendicular to it tend to have longer streaks and flames.
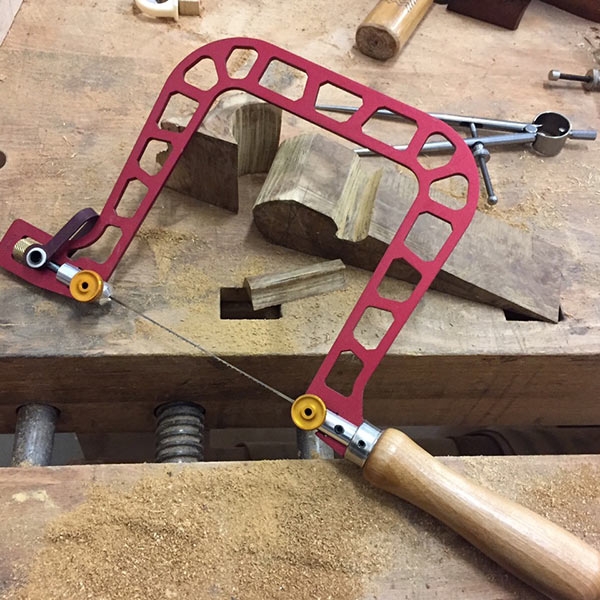
I was surprised at how well the Knew Concepts jewellers saw coped with 2” thick york gum, the blade is a 9DPR which was developed here at Workshop Heaven and made for us by Pegas. It was originally intended for cleanly removing the waste from carcase dovetails. In hindsight a No.12 super skip would probably have been even better but the 9DPR was in the saw and coped admirably.
The advantage of shaping the component before removing it from the parent block is two fold, first it makes it easier to hold and position, but it also means that if you get an unexpected surprise, like this resin pocket, you have more options to reposition the component within the block and cut around it.
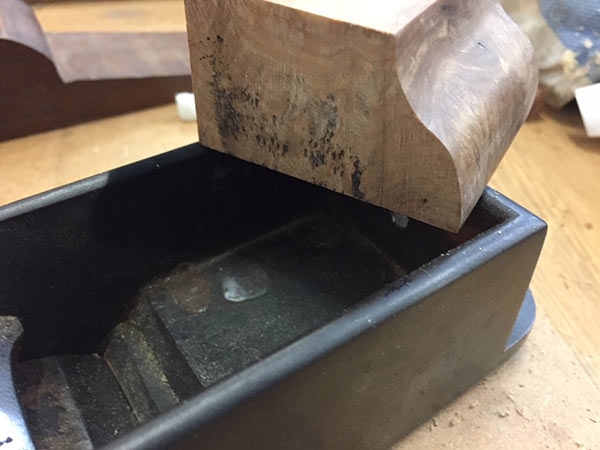
The front block was fitted using a gunsmithing technique called 'smoke fitting' where soot is deposited on one component and transferred to the other - showing the points of contact. In the absence of a proper smokelamp I pressed a birthday candle into service which worked just fine. I have since learned from Phil Edwards and Conrad Sauer that a drywipe whiteboard marker is the preferred medium of modern day planemakers - every day's a schoolday!
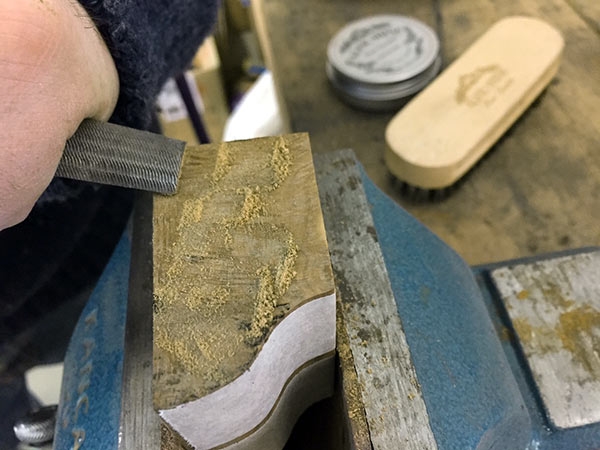
A little fine tuning with a scraper made by grinding the tip of a file to a sharp square edge and the front block dropped in nicely. This is Bill Carter's blunt chisel technique blunt chisel technique, invaluable when working on very hard timbers.
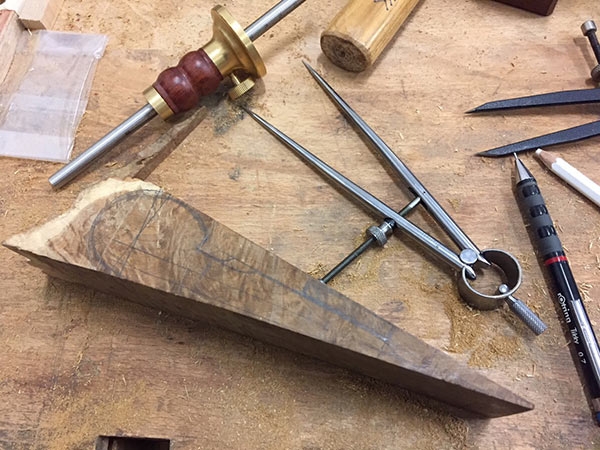
The previous wedge only bit at the front of the bridge, so I measured the gap at the back and increased the pitch of the new wedge accordingly. As Jim Hendricks kindly pointed out, what I should have done here was just cut the wedge and fit it before doing any shaping at the top. I got away with it (just) but next time I will adopt his approach.
The wedge was roughed out with the saw - astonishing how well this held square, refusing to wander even in such thick material.
I refined the shape using rasps, iwasakis, files and more of Bill's bizarre but highly effective blunt chisel scraping.
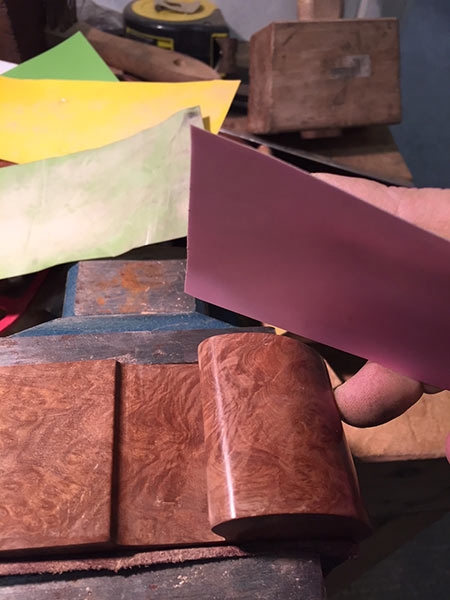
Then on to sanding, starting with a little sakazume sanding block and working through the grades then continuing with some offcuts of lapping film to bring the surface to a nice polish.
With the wedge in place I was finally able to see the whole thing 'in the round' the front bun seemed a little bit plain, so I carefully filed a chamfer onto the edges, then created a shallow guide kerf along the middle of the chamfer with a dozuki and followed that with a 100mm round file to create a little cove profile on the top corner.
I didn’t want to do too much, the figure of the timber is the main attraction, but just a little something to frame it. Half the battle with a job like this is knowing when to stop, so with a couple of coats of Alfie Shine and a quick tickle on the edge, I’m calling this one done.